
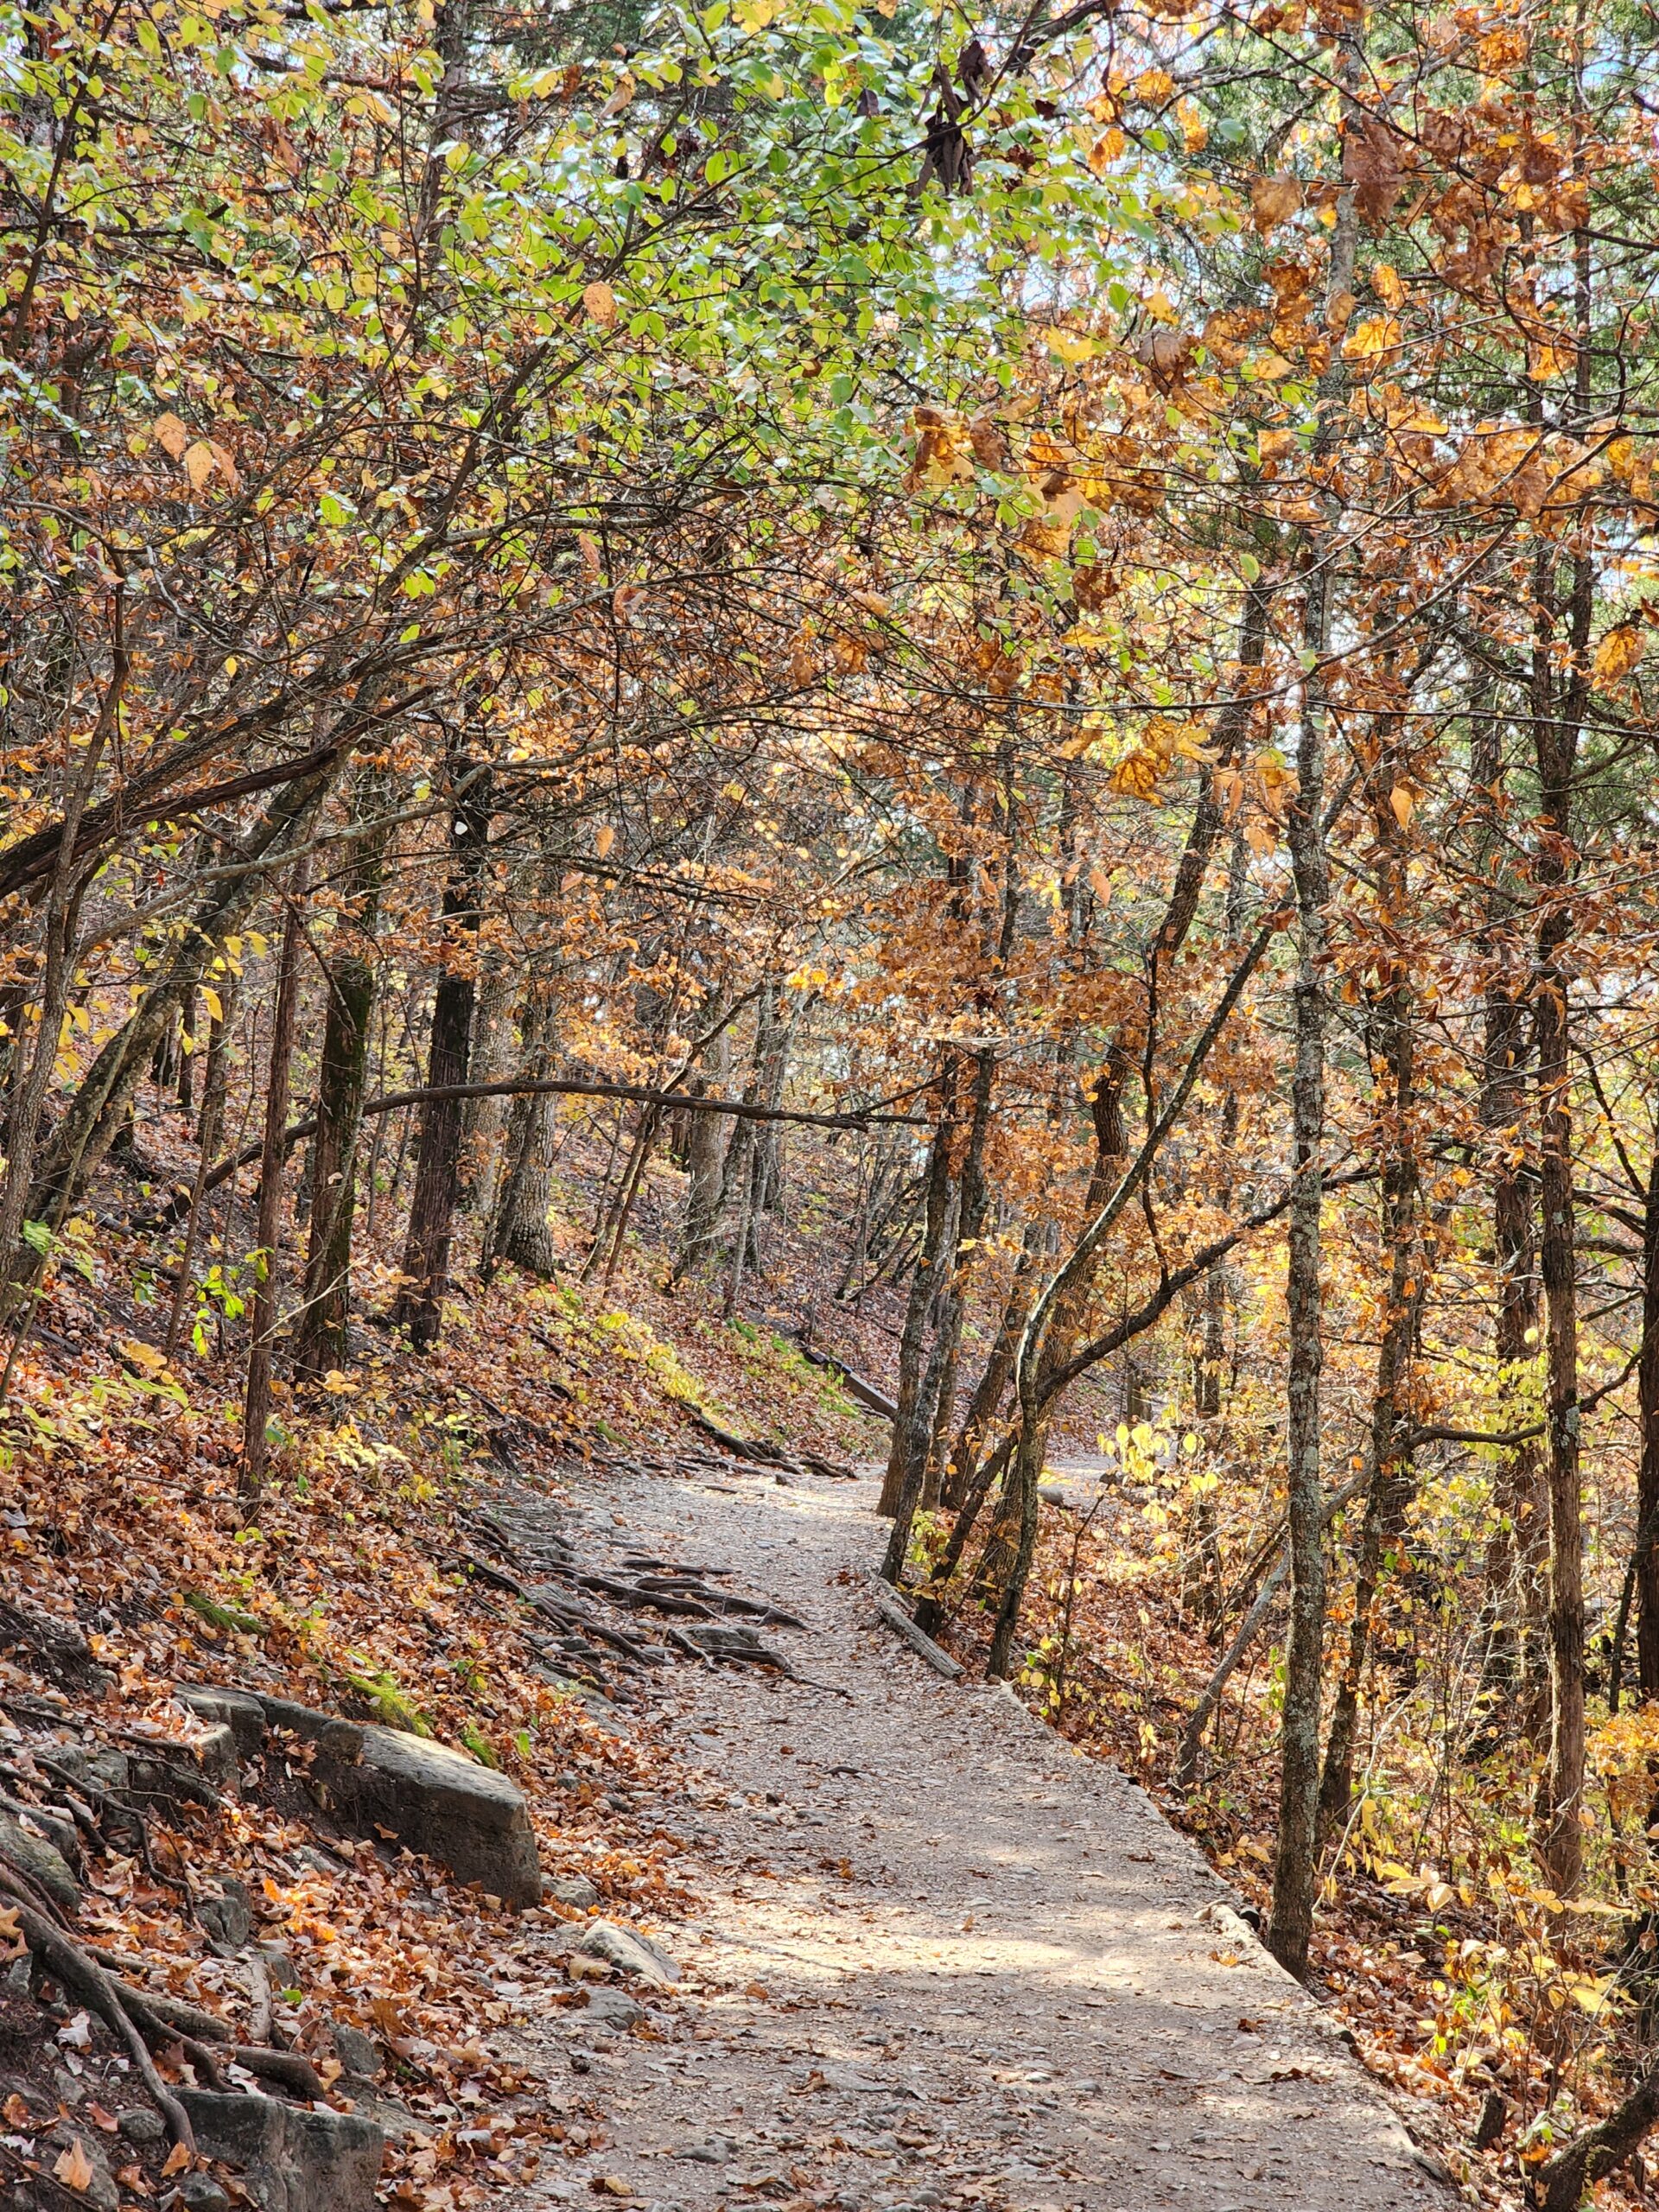
You don’t have to already be in hiking shape to start hiking.
You also don’t need to begin with a five-mile trail, buy a pile of gear, or wait until you’re fitter than you are right now.
Start with the body and fitness you have. Pick a trail that matches it. Then build from there.
That’s really how Tom and I approach movement in general. I want to be able to walk around a city all day when we travel, hike somewhere beautiful, work in the yard, carry things, climb stairs, and say yes to things without immediately wondering whether my body can handle them.
Hiking happens to be a pretty good way to work on a lot of that at once. It asks for endurance, leg strength, balance, and mobility — and you get to go somewhere while you’re doing it.
Start With the Hiker You Are Right Now
Don’t choose your first trail by mileage alone. Look at distance, elevation gain, terrain, and how easy it is to turn around if you’ve had enough.
Three flat miles and three mountainous miles aren’t remotely equivalent.
If you’ve mostly been walking around your neighborhood, start with something that isn’t dramatically harder than what you already know you can do. A short trail with modest elevation gives you a chance to see how your body responds without turning the first hike into an endurance test.
Build Walking Capacity First
Ordinary walking absolutely counts.
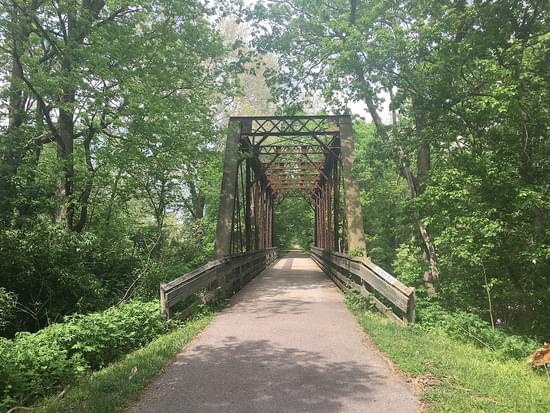
Daily walks around your neighborhood build the base endurance a trail is going to ask for. If you’re already comfortable walking for 30 to 45 minutes on flat ground, you have some endurance to build from. If you’re not there yet, start with what you can comfortably do and gradually add time.
Build Strength for the Trail
Hiking is one of the reasons strength and mobility matter to me in the first place. I’m not interested in being strong just to hit a number in a workout. I want that strength available when there’s a trail I want to hike, a city I want to explore, or something else I want to say yes to.
You don’t need a complicated hiking-specific strength program. Squats, hinges or RDLs, lunges or step-ups, calf raises, and core work are a good place to start. They build strength you’ll use for climbing, descending, stabilizing on uneven ground, and carrying what you need.
That’s also the idea behind the Strength & Mobility Planner: figure out what you want your body to be able to do, then build movement around that — whatever that looks like for you.
Explore the Strength & Mobility Planner →
Don’t Ignore Balance and Your Feet and Ankles
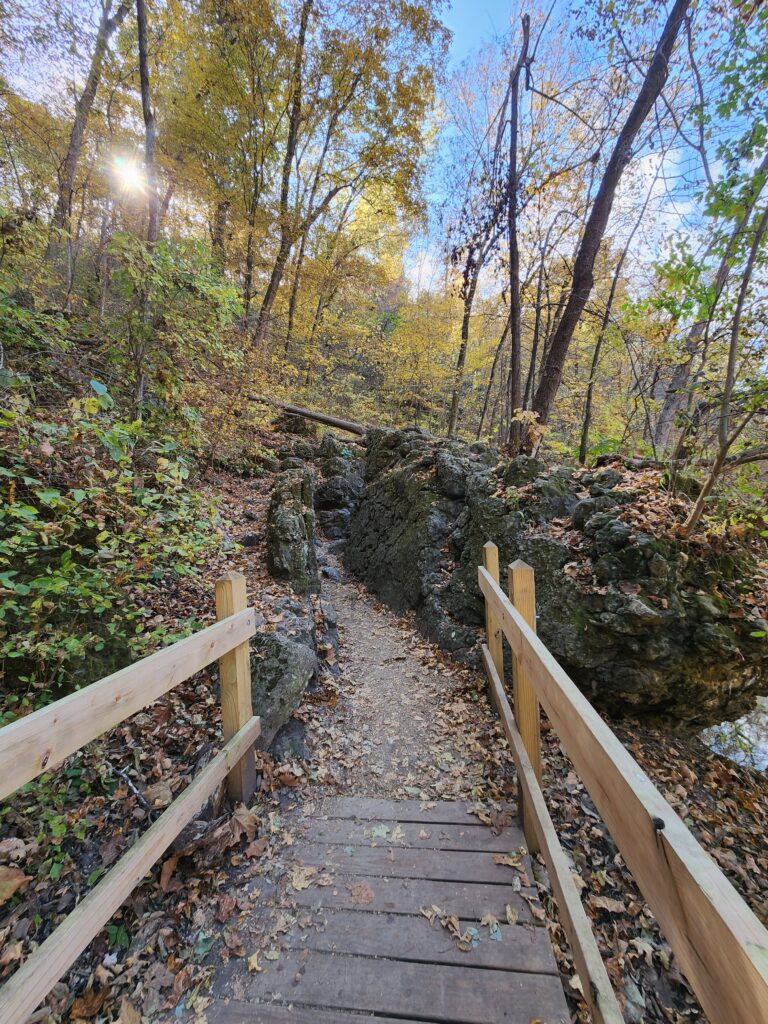
Uneven terrain exposes weaknesses that flat pavement never will.
Single-leg balance work, ankle mobility, and simply spending time walking on uneven surfaces before your hike all help. It’s easy to focus on endurance and leg strength and forget about your feet, ankles, and balance until you’re actually on uneven ground.
Carry the Basics
Water. Food or a snack appropriate for the length of the hike. Sun protection. A weather-appropriate extra layer. A basic first-aid kit. Navigation you can access without cell service.
For anything beyond a short, familiar local trail, check the weather and trail conditions before leaving and make sure someone knows where you’re going and when you expect to be back.
You don’t need a pile of specialized gear to start hiking. You do need to think through what would happen if the hike takes longer than expected or conditions change.
Progress One Thing at a Time
Once a trail starts feeling comfortable, resist the urge to make the next hike farther, steeper, and rougher all at once.
Change one variable at a time — more distance, or more elevation, or more difficult terrain. That’s how you keep progressing without the setbacks that come from doing too much too soon.
Make Hiking About Somewhere You Want to Go
The fitness is what makes the trail possible. It isn’t supposed to be the whole point.
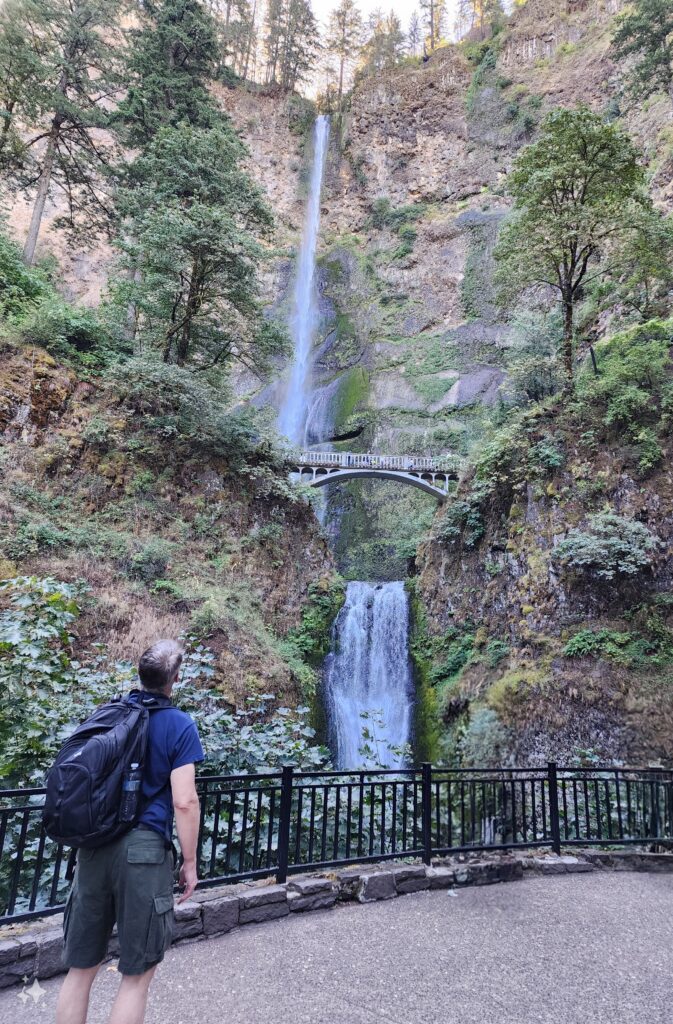
Pick a trail because of the view, the destination, the waterfall, the overlook, or simply because you’ve been curious about it. Let the training support getting you there instead of becoming a program you’re just trying to complete.
Hiking With Mobility or Accessibility Needs
Trail surface, grade, cross-slope, and width all affect how manageable a trail is, regardless of the reason you’re paying attention to them. Look for information on obstacles, accessible parking and restrooms, and benches or rest areas along the route. Check current trail conditions before you go, since conditions can change what was previously an accessible route.
Most park websites list this information directly, and it’s worth checking before you commit to a trail rather than finding out partway through.
Pick Your First Trail
Find one trail you’d actually like to hike.
Check the distance, elevation, terrain, and current conditions. Compare it with what you can comfortably do now.
If it looks manageable, pick a day and go.
If it doesn’t, now you have something specific to train for.
Before you go: If you have a health condition or any concerns about starting a new activity, check with a healthcare professional first. Hiking involves real physical effort and trails vary a lot in difficulty, so it’s worth being honest with yourself about your current fitness level before you head out.
Every Friday, one thing we noticed, tried, or figured out — plus one small way to approach the week differently.